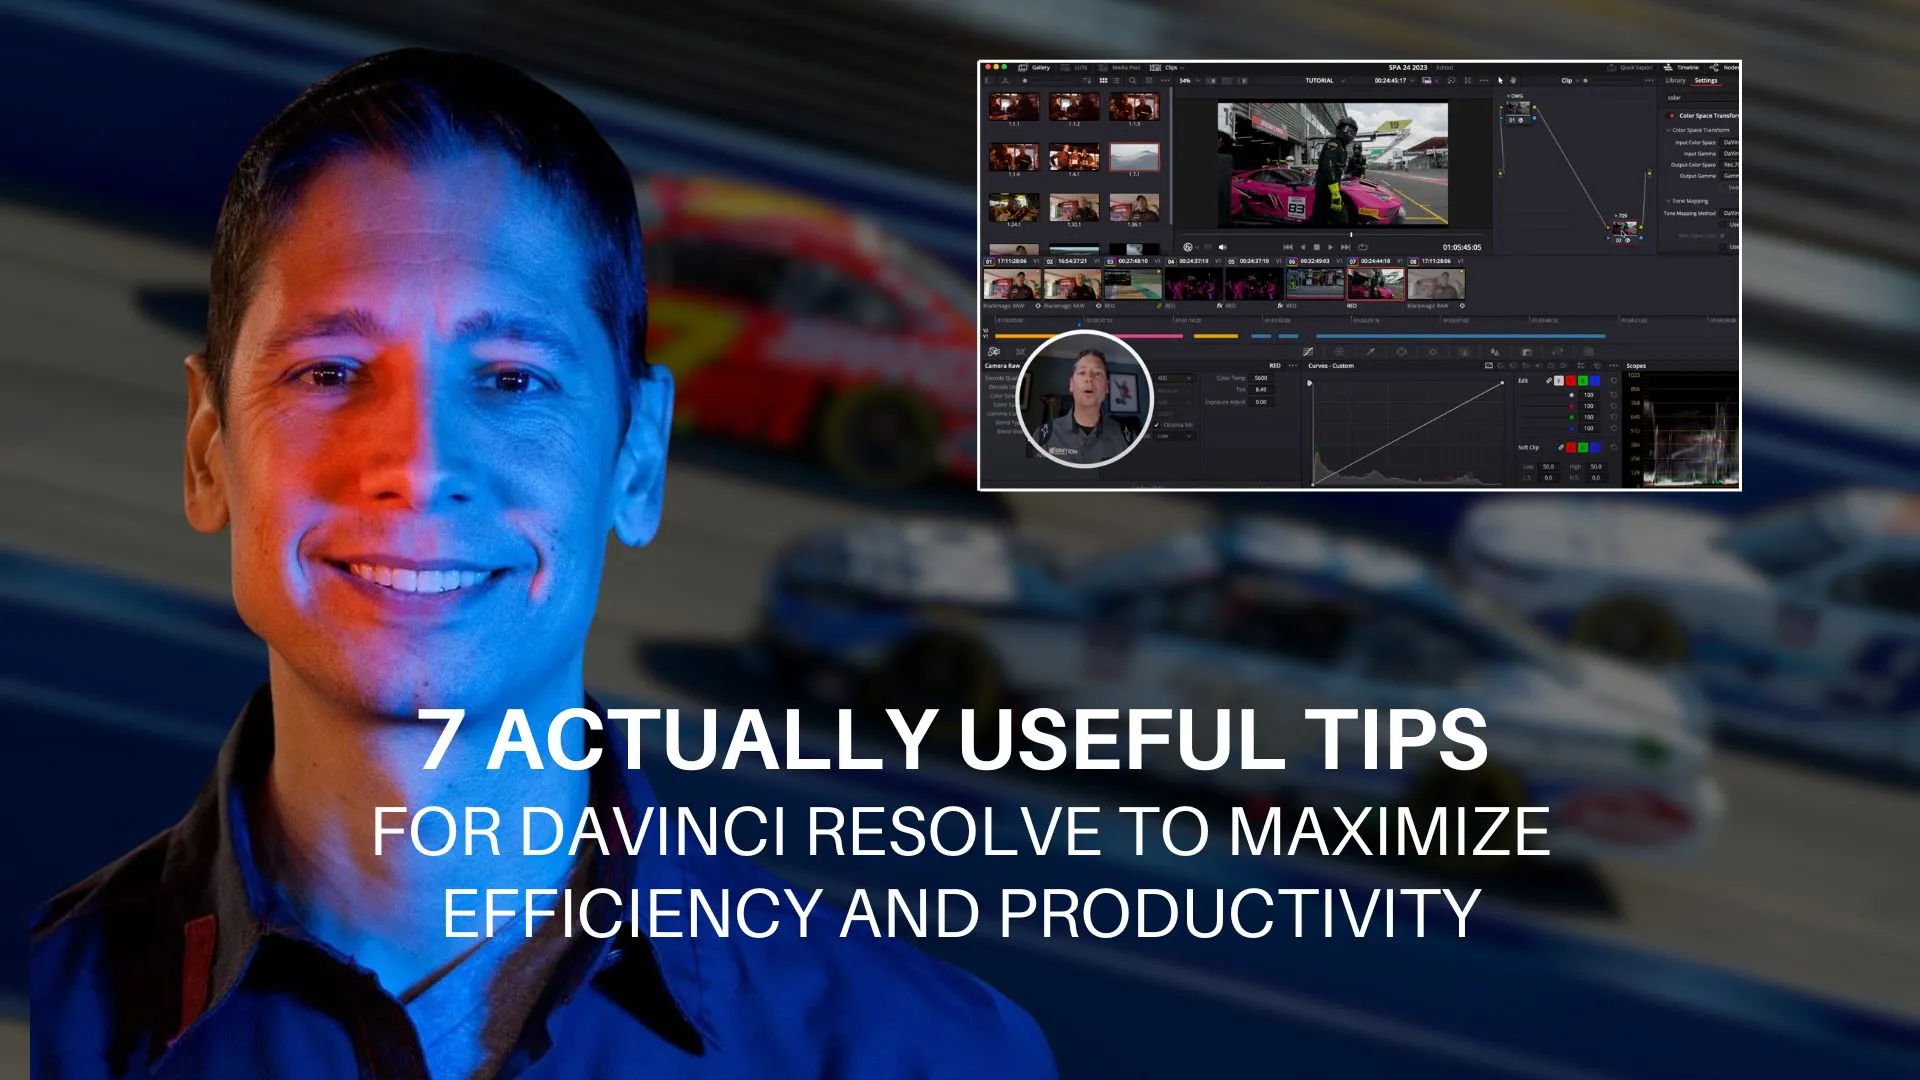
Table of Contents
DaVinci Resolve is widely celebrated for its powerful color grading capabilities, but beyond that, it offers a treasure trove of tools that can transform your editing workflow—especially when working with fast-paced, demanding content like motorsports and racing. Drawing from real-world experience at major events, here’s a deep dive into seven practical DaVinci Resolve tips that will help you boost productivity, streamline your edits, and add a creative edge to your projects.
1. Audio Transcription: Streamline Client Feedback with AI
One of the biggest challenges when editing talking head content is determining which parts your client or director wants to keep. Instead of guessing or piecing together bits of dialogue blindly, DaVinci Resolve’s built-in audio transcription feature gives you a complete written transcript of your footage.
Simply right-click the clip in your media pool, select audio transcription, and let the AI generate a text version of everything said. This allows you to send a clear script to your client for easy review and direction, saving you hours of back-and-forth and guesswork. It’s a game-changer for any project that involves interviews, testimonials, or dialogue-heavy content.
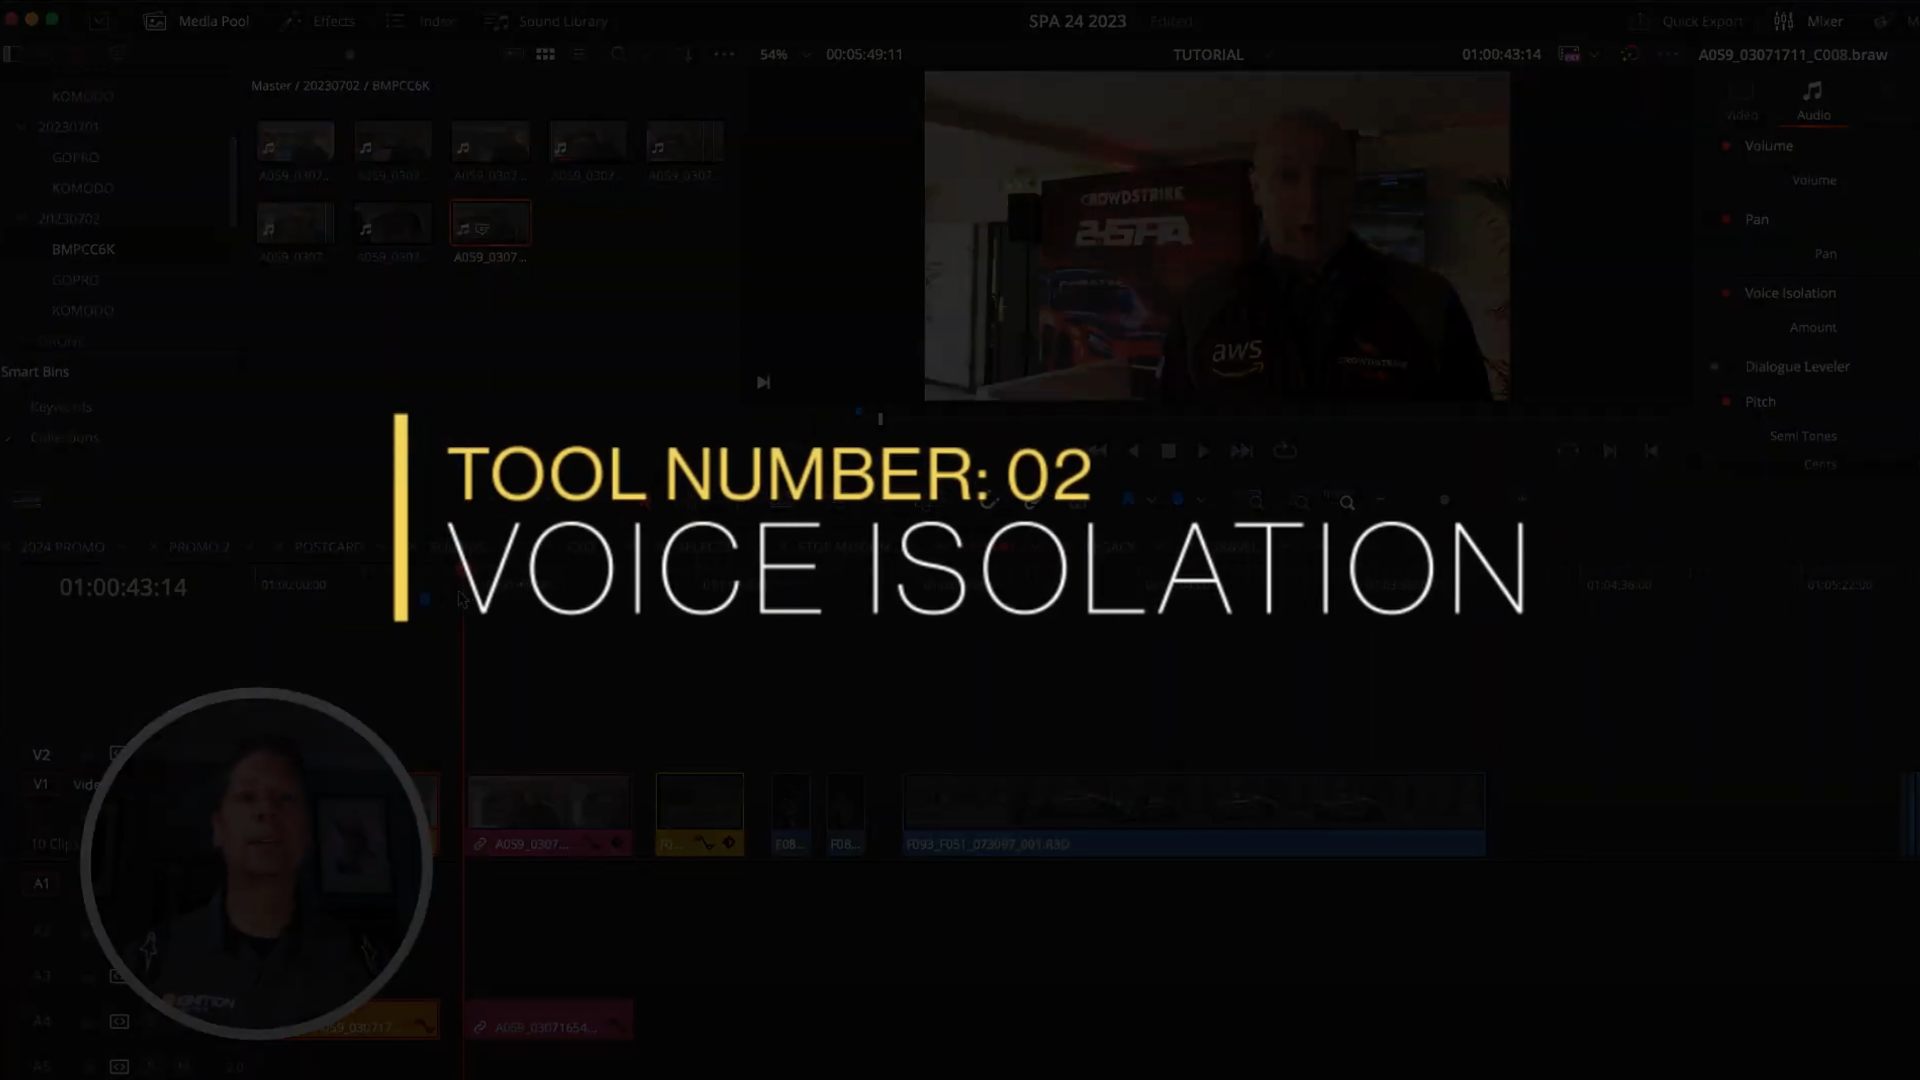
2. Voice Isolation: Clean Up Noisy Environments
Filming in noisy settings, like a 24-hour endurance race where engines roar non-stop, can make capturing clear audio a nightmare. Here’s where DaVinci Resolve’s voice isolation tool shines. This effect intelligently filters out background noise, isolating the speaker’s voice even amid loud ambient sounds.
By applying voice isolation from the audio effects panel, you can dramatically reduce distracting noises—like racing engines—making your talking head clips usable even in the loudest environments. This feature turns what would otherwise be unusable audio into professional-sounding testimonials or interviews.
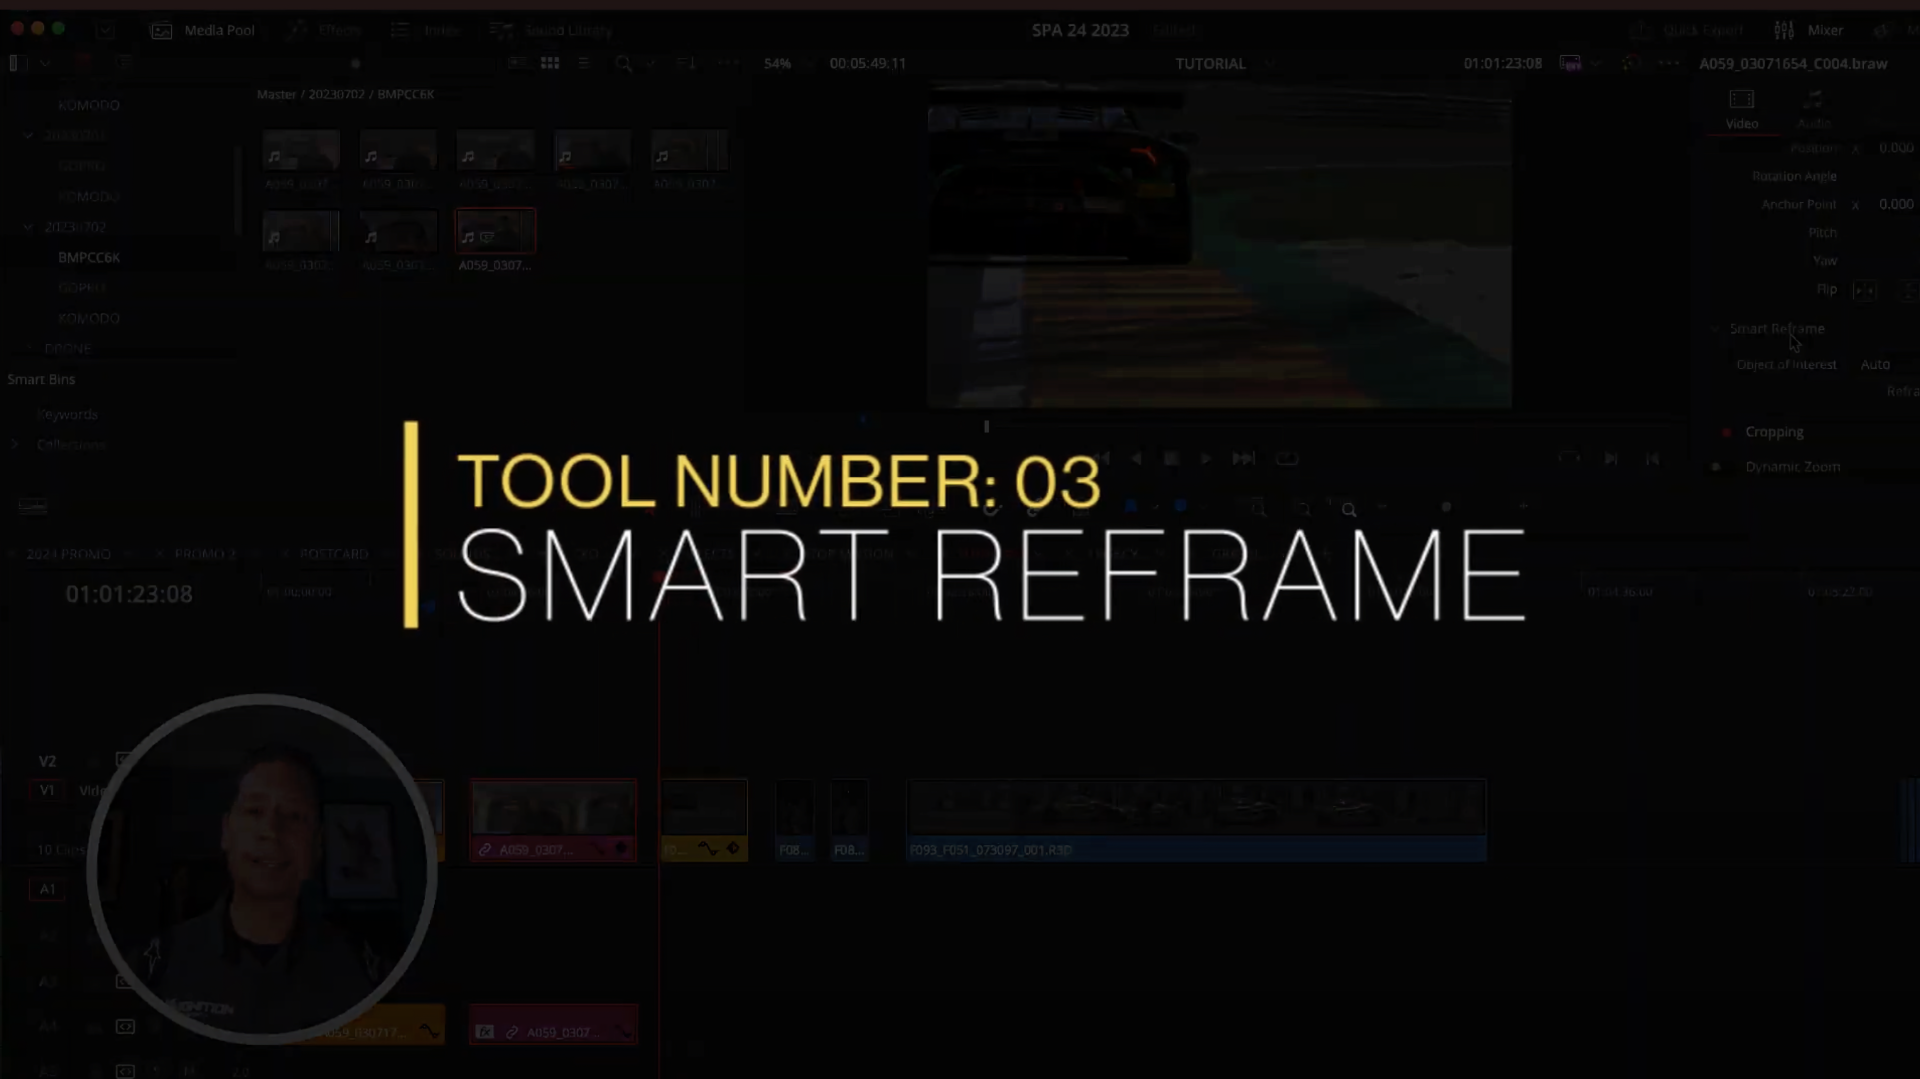
3. Smart Reframe: Effortlessly Convert Horizontal to Vertical
In today’s social media landscape, vertical video is king, but most footage is shot in the traditional 16:9 horizontal format. Instead of manually cropping and keyframing every shot, DaVinci Resolve’s Smart Reframe uses AI to automatically track and keep your subject in frame when converting to vertical formats.
You can either let the software pick the point of interest automatically or set a reference point yourself—like a car’s headlight in a racing clip. While it’s not perfect every time, it’s an incredibly efficient way to repurpose horizontal footage for platforms like Instagram Stories, TikTok, or YouTube Shorts without losing the essence of your shot.
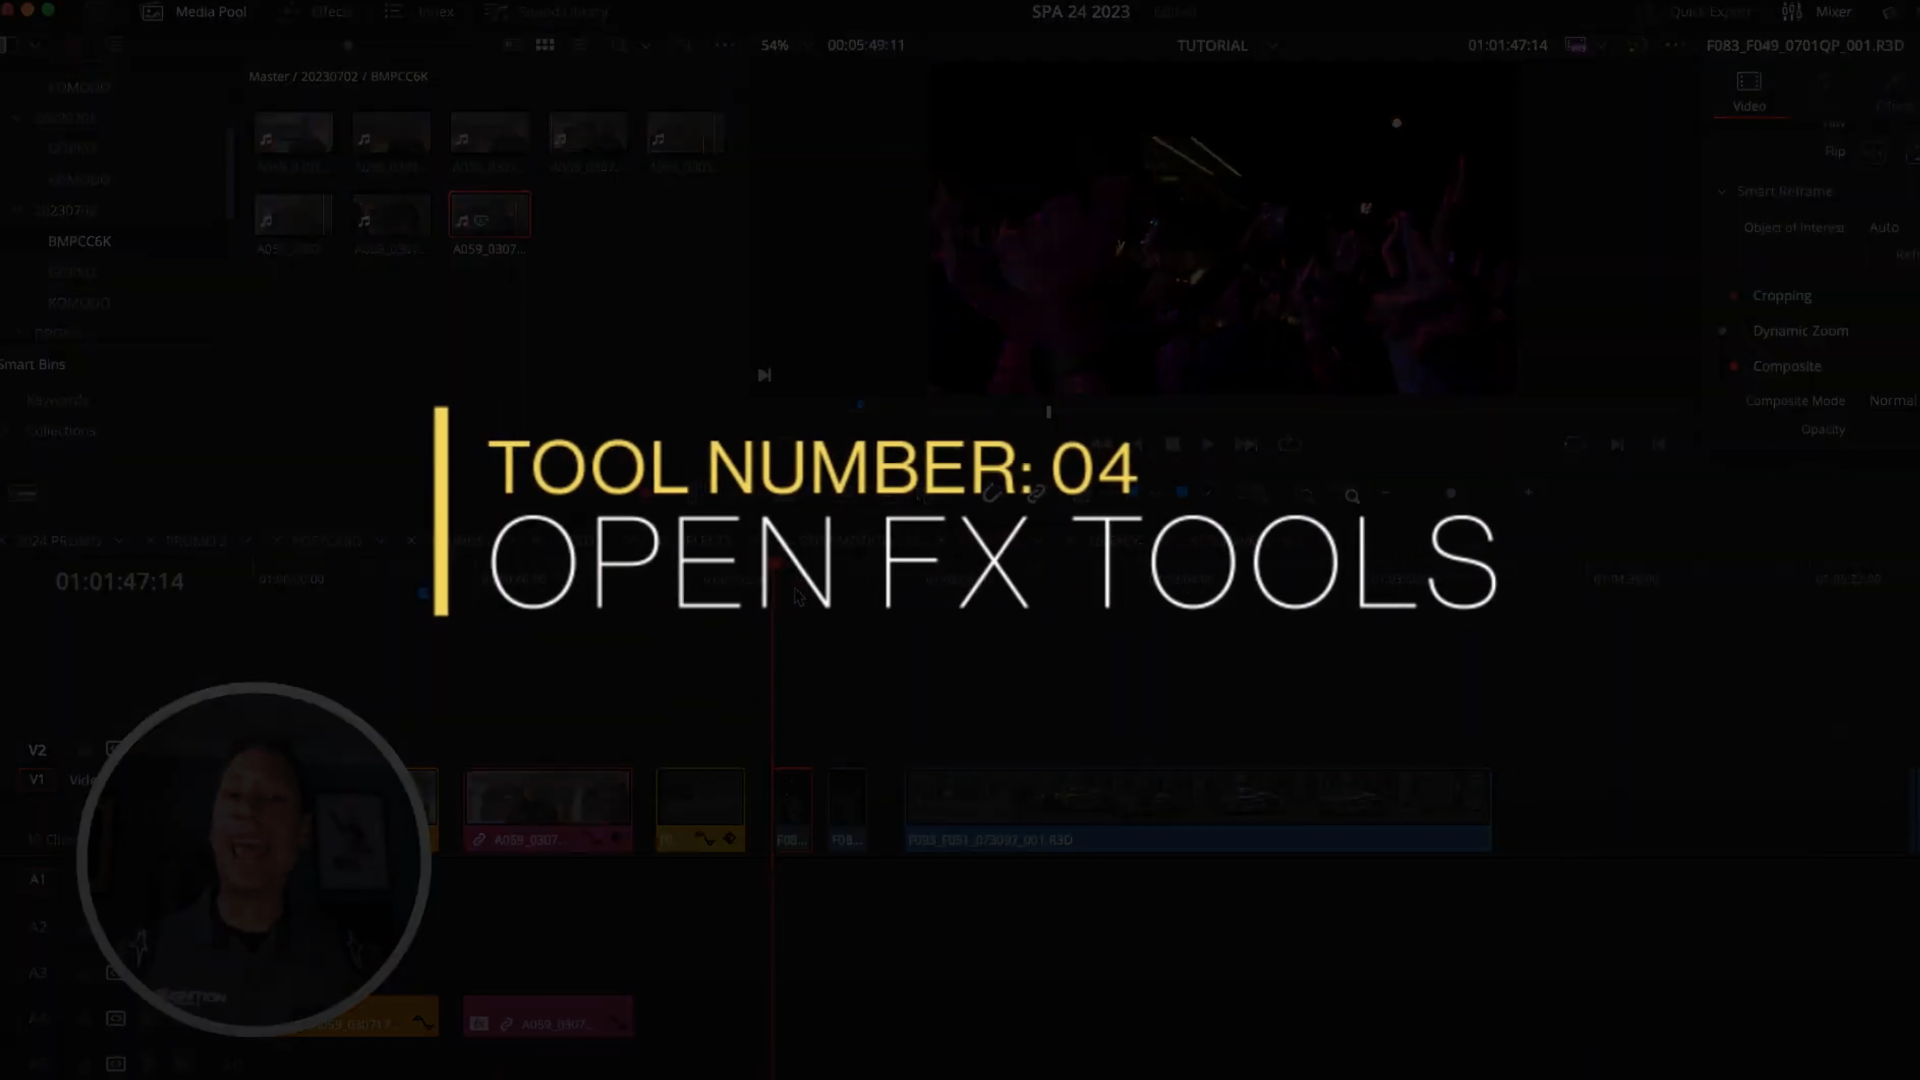
4. Open FX Tools: Add Creative Flair with Built-In Effects
Sometimes your footage needs a little extra personality. DaVinci Resolve’s Open FX (OFX) library offers a range of effects that can add style and energy to your edits. For example, combining camera shake with a stop motion effect can turn a simple crowd scene into a trendy, eye-catching clip perfect for social media.
These effects are easy to apply and can breathe new life into otherwise plain footage, giving your projects that extra “wow” factor without spending hours in post.
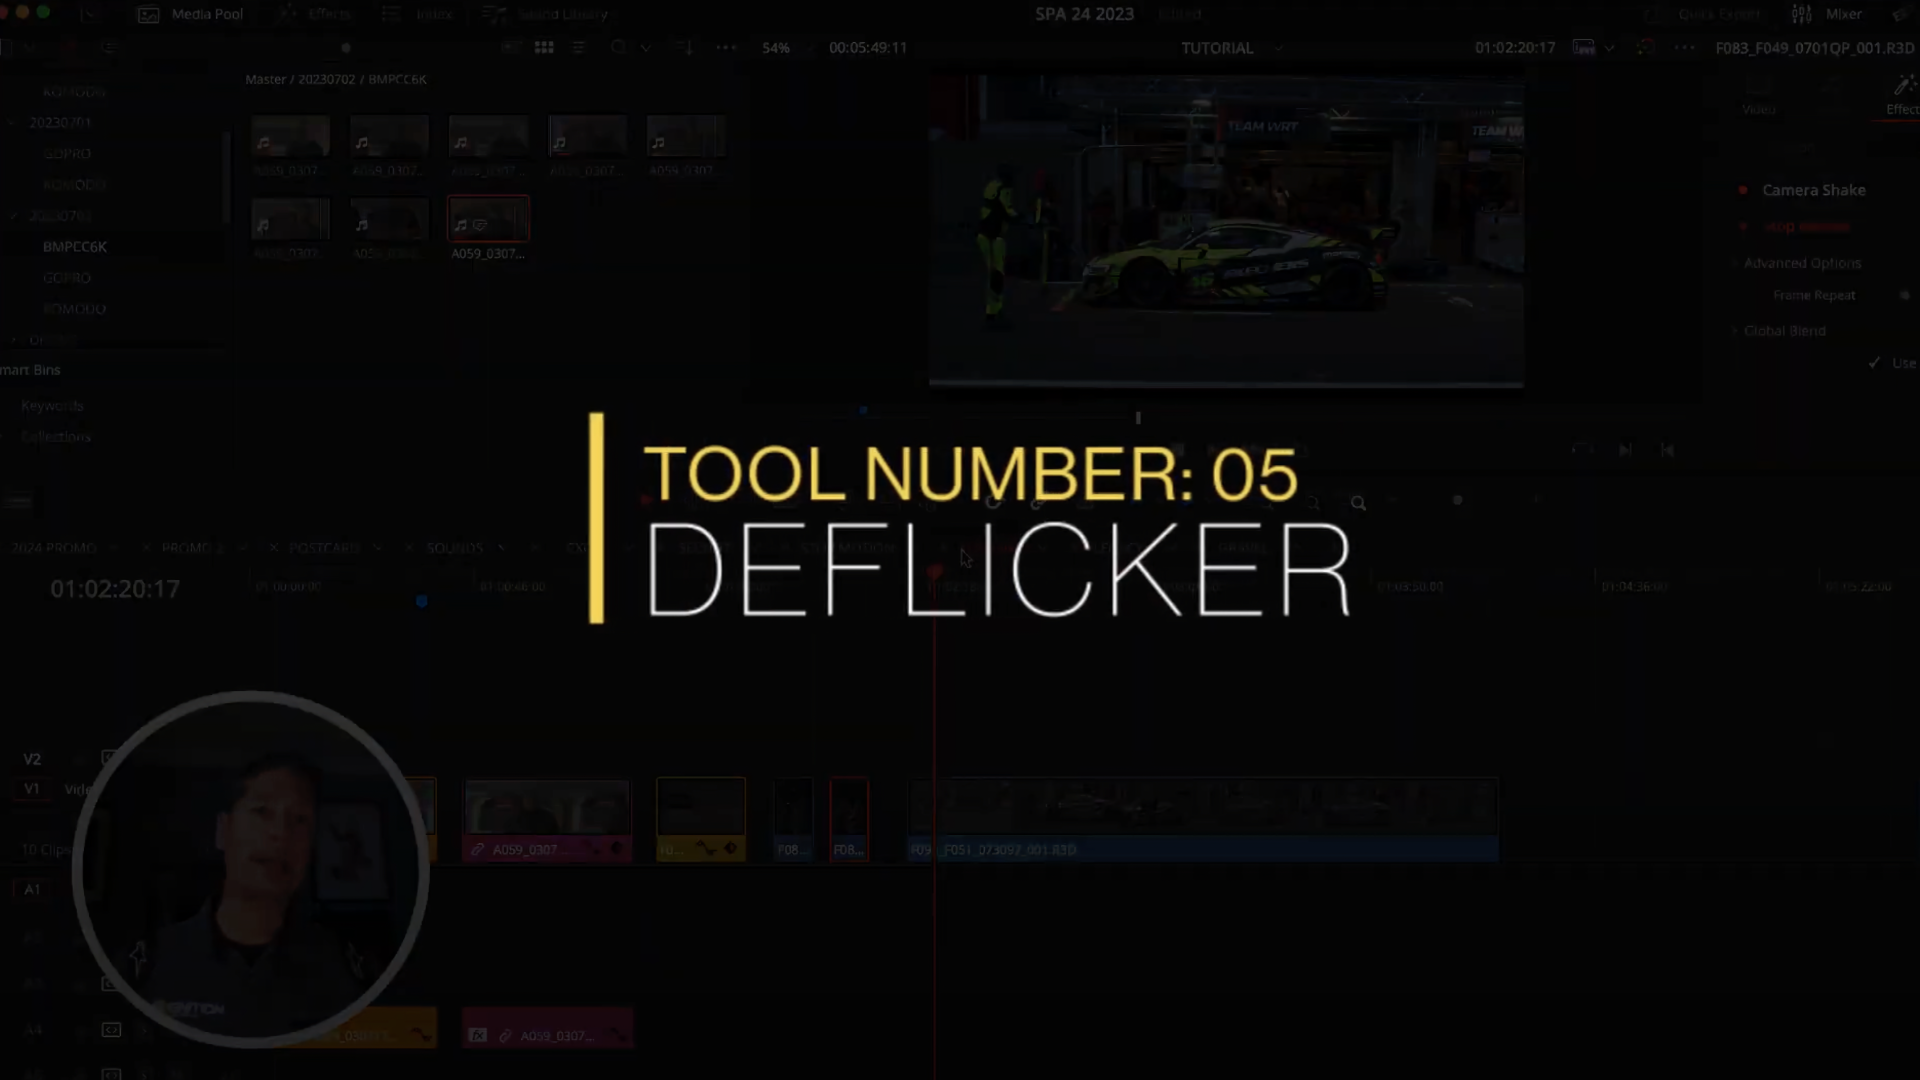
5. De-Flicker Tool: Say Goodbye to Annoying LED Flicker
Filming under LED lights—especially overseas where power standards differ—can introduce distracting flicker in your footage. DaVinci Resolve’s de-flicker tool, found in the color tab, can significantly reduce or eliminate this issue.
By adding a node and applying the de-flicker effect, you can salvage shots that might otherwise be unusable. While it’s not a perfect fix for every situation, it’s a valuable tool to have in your arsenal when dealing with challenging lighting conditions.
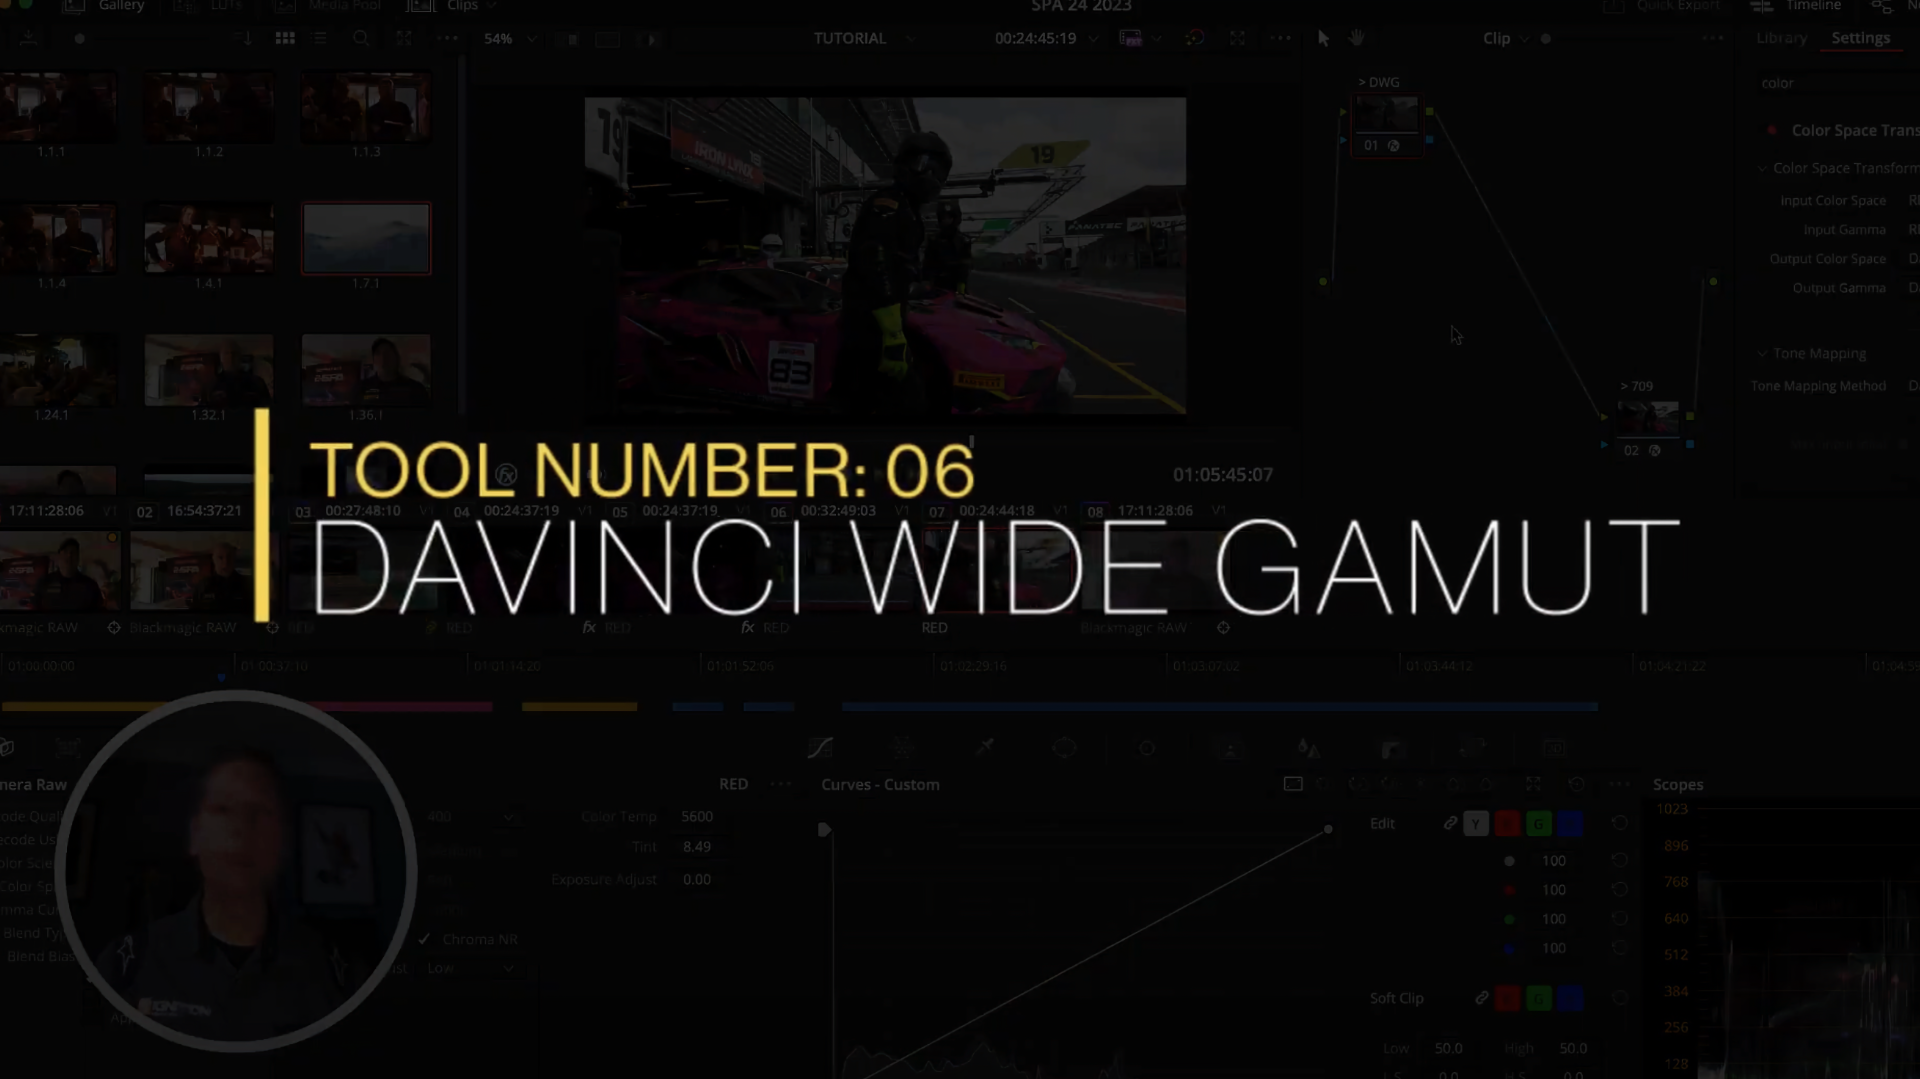
6. DaVinci Wide Gamut Intermediate: Achieve Consistent Color Across Cameras
Matching color between different cameras is one of the toughest parts of any multi-camera shoot. DaVinci Resolve’s solution? A neutral working color space called DaVinci Wide Gamut Intermediate.
This method involves converting footage from each camera’s native color space into this neutral intermediate space before applying your grade. Then, the footage is converted back to Rec. 709 (broadcast standard) for final output. This “color sandwich” approach ensures that your grades apply evenly across clips from different camera brands—whether Blackmagic, RED, Canon, or drones—giving you a consistent and professional look.
While there are many tutorials diving deeper into this technique, incorporating it into your workflow can dramatically improve the uniformity and quality of your color grading.
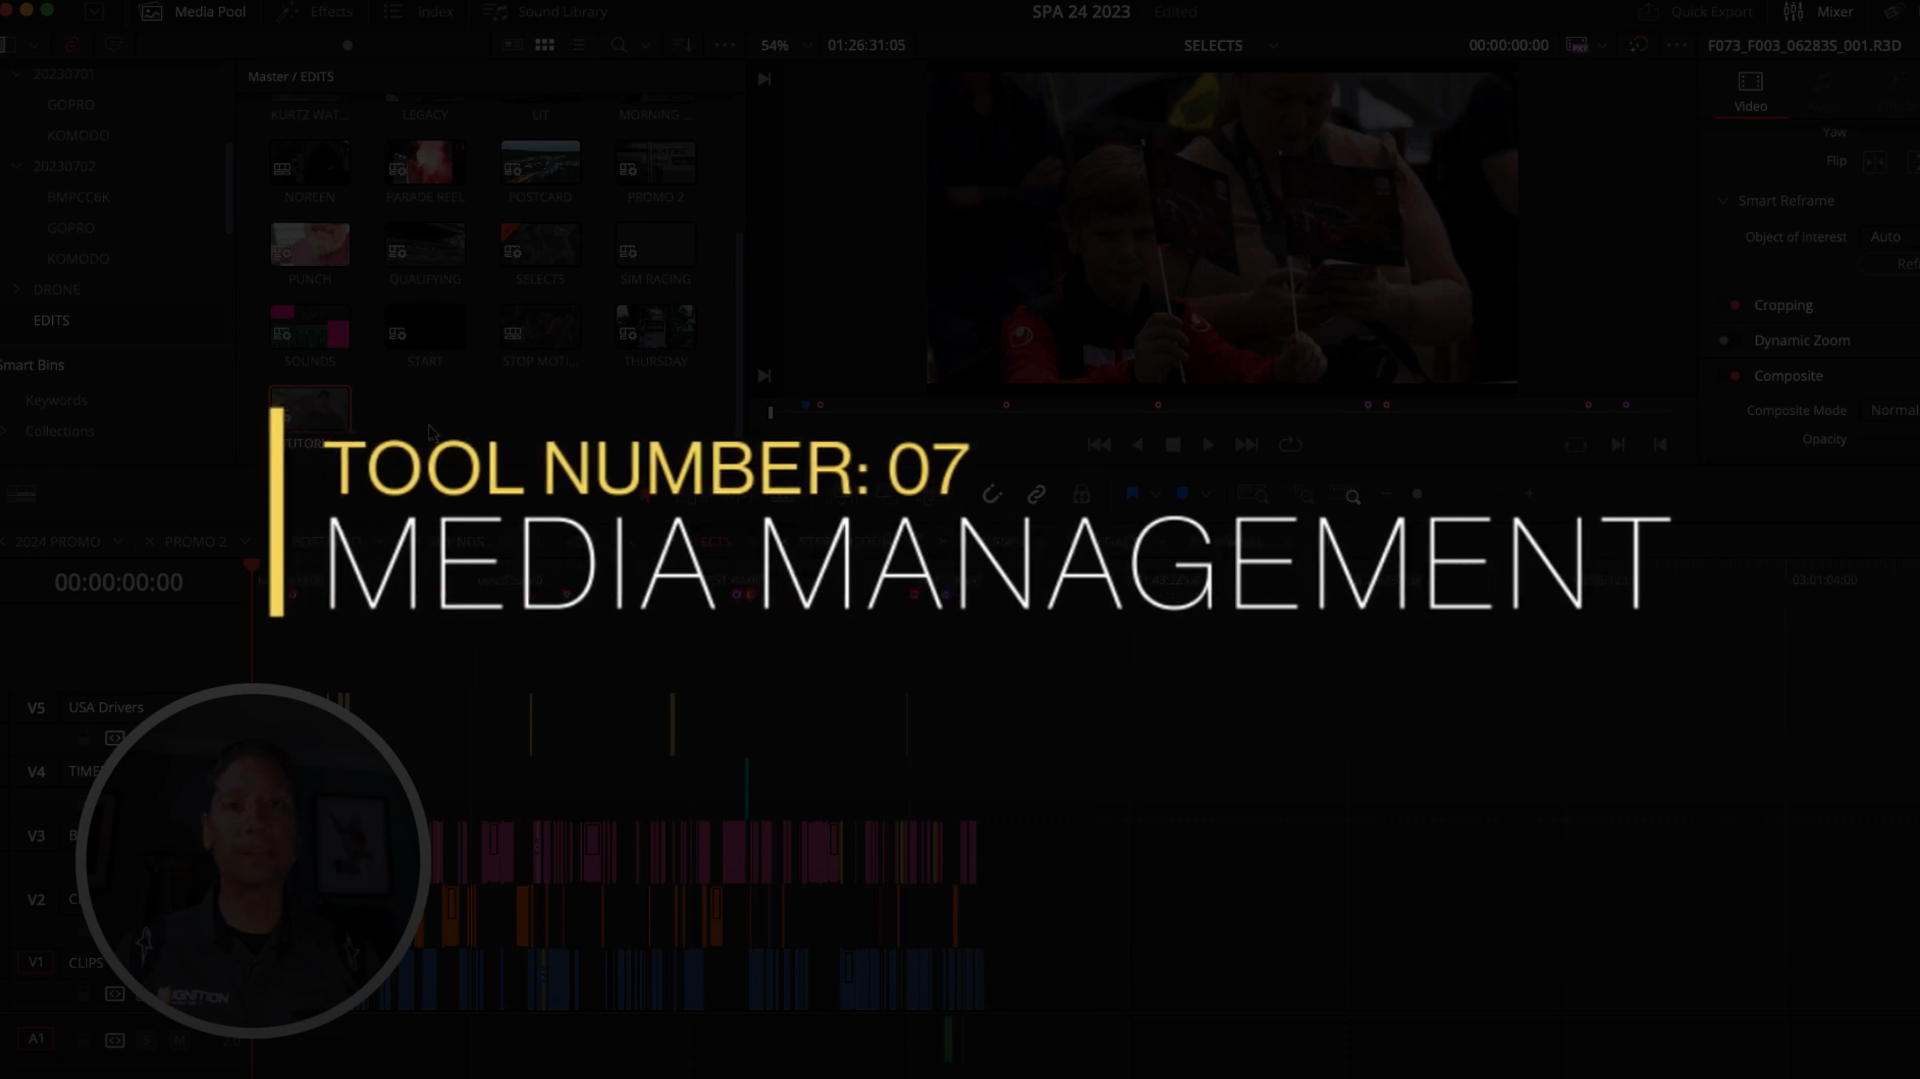
7. Media Management: Organize and Optimize Your Storage
If you’re shooting large volumes of footage—like multiple terabytes at a racing event—you know how quickly storage can become overwhelming. DaVinci Resolve’s Media Management feature lets you sort, trim, and export only the footage you actually use in your final edit, drastically reducing your storage needs.
For example, you can isolate clips by sponsor, best takes, or specific days and export just those selections. You can also transcode heavy raw files into more manageable formats like ProRes or MP4, cutting file sizes significantly without compromising your ability to revisit or repurpose the footage later.
This tool is invaluable for content creators who want to keep their archives organized and accessible without drowning in massive data piles.
DaVinci Resolve offers much more than just powerful color grading—it’s packed with practical features that, when leveraged correctly, can save you time, improve your audio and video quality, and add creative polish to your projects. Whether it’s using AI-powered transcription to speed up client feedback, isolating voices in noisy environments, or automatically reframing footage for vertical social content, these tools are designed to help you work smarter, not harder.
For anyone regularly filming and editing motorsports or any fast-moving action, incorporating these seven tips into your workflow can make a significant difference. So dive in, experiment with these features, and watch your efficiency and creativity soar.
Stay creative and keep pushing the limits of what's possible with your edits!
This piece was shaped from an original conversation (recorded, written, or filmed). Using only the source material, editing tools powered by AI helped refine structure and flow under close human guidance. All ideas and details reflect the voices of the original speakers.


